Saturday, December 31, 2011

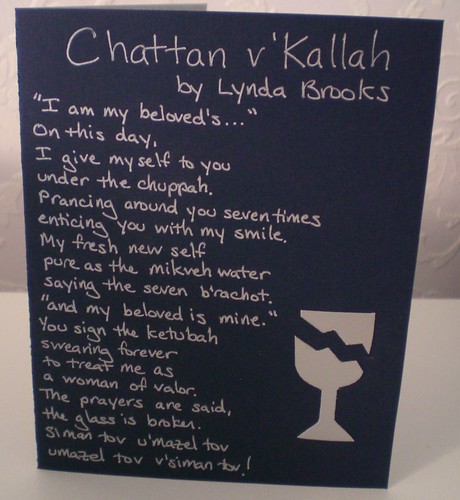
Card: Personal Poetry

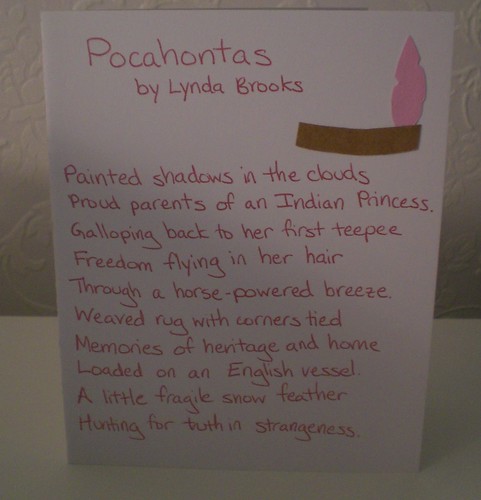
cardp_chattancardp_pocahontas
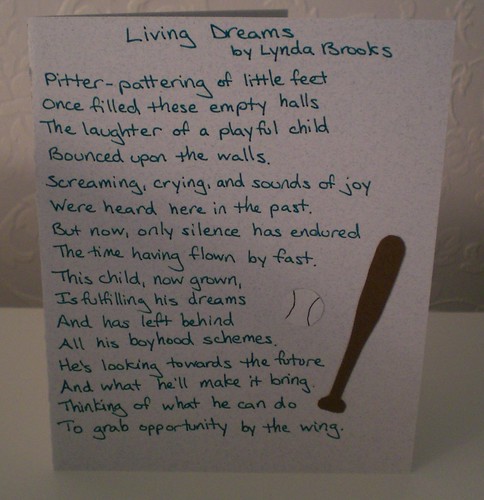
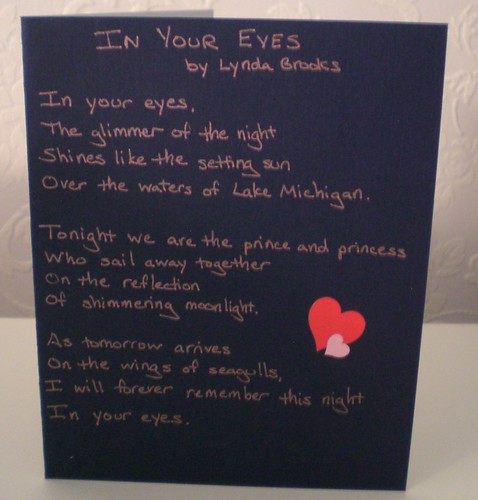
cardp_livingdreamscardp_ineyes

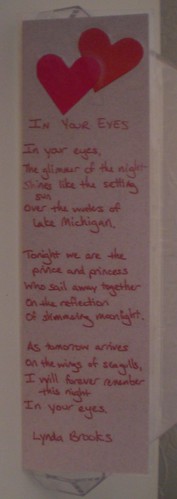
Besides using my personal poetry as bookmarks to share, if the theme of the poem is appropriate I use them for cards as well.

How I Use Them:  The card with the poem entitled "Chattan v'Kallah" I use for Jewish Weddings.  The poem itself is about the traditional Jewish Wedding ceremony.  The card with the poem entitled "Pocahontas" I used for older girl's birthdays or when they first leave for college.  I think of it as a poem about a girl leaving home for the first time.  The card with the poem entitled "Living Dreams" I use for older boy's birthdays or when they first leave for college.  I wrote it for my brother in honor of his becoming a Bar Mitzvah - reflecting on the past and looking towards the future.  The poem entitled "In Your Eyes" I use for anniversaries.  I wrote this in High School and it was used in the booklet for the Prom.

Friday, December 30, 2011

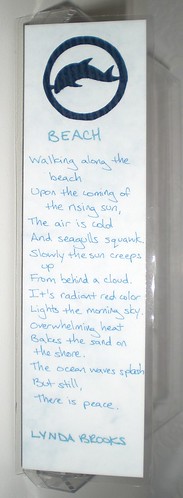
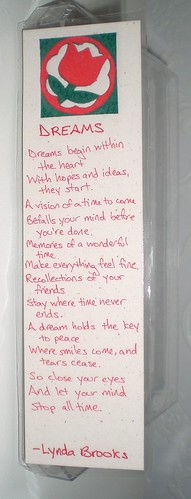
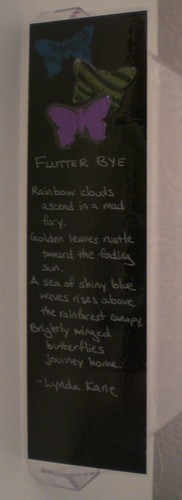
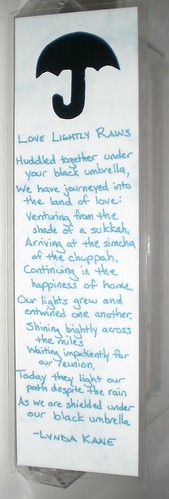
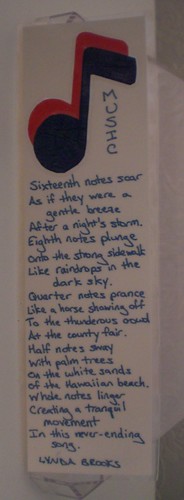
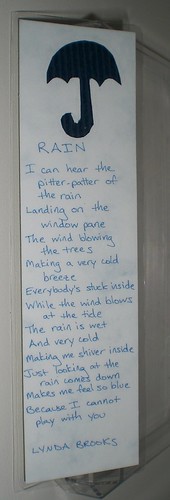
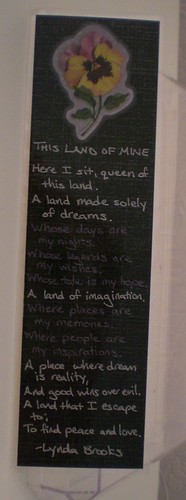
Bookmark: Personal Poetry

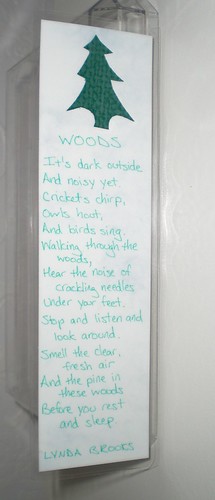
bkmkp_adream bkmkp_beach bkmkp_chattan bkmkp_dreams bkmkp_flutter bkmkp_ineyes bkmkp_lovelightly
bkmkp_placebkmkp_musicbkmkp_pocahontasbkmkp_rainbkmkp_rainbowbkmkp_landofminebkmkp_woods

Inspiration: Most of these feature poems I wrote in Jr High and High School, though a few are from college.  I always wanted an easy way to share them with others so I turned them into bookmarks.

How I Make Them: For some, I've created templates and cut-outs that I add to the bookmark.  The artwork is always related to the poem.  Then, I write out the poem using Gel Pens. If I'm going to do any hand-drawing on the bookmark, that comes next.  When I'm finished, I laminate them with my E-Z Laminator.

Wednesday, December 28, 2011

Craft Project: PomPom Snowman

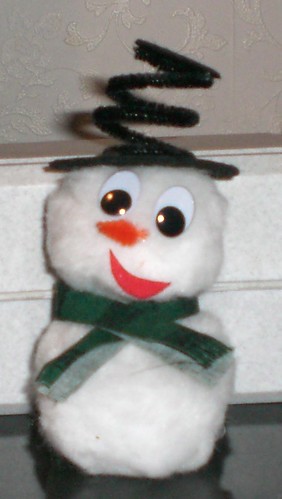
Snowman3

Inspiration: We made these as the craft project for my daughter's recent 3rd birthday party.  Her party had a Dora & Diego's Winter Adventure theme.

How I Prepped the Craft: Before the party, I put together ziploc bags with all the parts for the craft that included:
  • 1 3" white pompom and 1 2.5" white pompom glued together with Elmer's SchoolGlue (pre-glued to avoid using glue the day of the party)
  • 2 oval googly eyes - each with a large Zots affixed to the back (backing from the Zot still attached)
  • 1 red mouth, cut out from a piece of sticky-backed stiff red felt (backing still attached)
  • 1 orange carrot nose, cut from a piece of pipe-cleaner (the kind that gets thicker and thinner, sorry I can't remember what they're called)
  • 1 black springy hat - I cut 2 different sized circles from a piece of stiff black felt (the smaller one was about 2/3 the size of the larger), then wound a single piece of black pipe-cleaner to match the roundness of the smaller circle.   Before the party, I also sewed the pipe-cleaner to each circle using embroidery floss to make sure it stayed together.
  • 1 scarf - I cut these from fabric scraps I had from another project.  I cut long strips, folded them in half, and cut slits for the end tassles.  I also sewed on a plastic snap so the kids would be able to just snap the scarf around the snowman the day of the party.
How We Finished them at the Party: Each child was assisted by a parent (mostly because these were toddlers between the ages of 3 and 5).  Each child got their ziploc back and boxes of Zots were available for the parents to use to help secure pieces where needed.
  • The backing was removed from the googly eyes so they could be stuck on the snowman.
  • A large Zot was added to the orange nose to help secure it when it was pushed into the snowman's head.
  • The backing was removed from the red mouth so it could be stuck on the snowman.
  • 3-4 Zots were put on the bottom of the hat to help it stick to the snowman's head (glue would probably work better but I was really trying to avoid having to let these dry and the mess that comes with glue)
  • The scarf was wrapped around the snowman and snapped together so it would stay on.

Final Thoughts: Overall I think it was a good project.  I did have to do quite a bit before the party.  I'm sure older kids could have done more.  Maybe one day I'll find a better adhesive to use with this age group.
Sunday, December 25, 2011

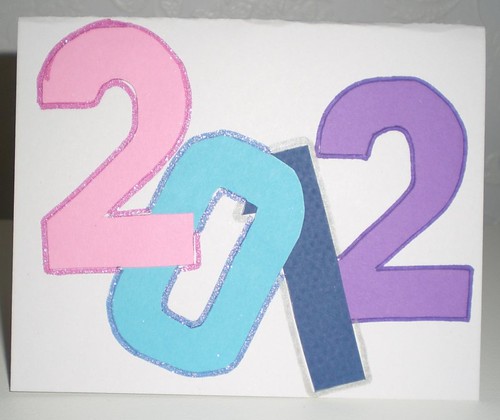
Card: New Year's - Numeric Year


Inspiration: For Christmas & Rosh Hashana (Jewish New Year) every year I try to do similarly styled cards.  In keeping with that, I used the calendar years for this year's cards.

How I Make Them:  I started by making templates for the numbers.  I used a ruler, compass and notecards and only made the numbers I needed.  I used the templates to trace my numbers on different colored paper.  After the numbers were all cut out I glued them onto the card stock - trying not to just glue them in a straight line so they looked a little more artistic.  I also used markers to outline and decorate the numbers to give them some embellishment.  Inside the card I wrote a message about the related holiday.

Alternatives:
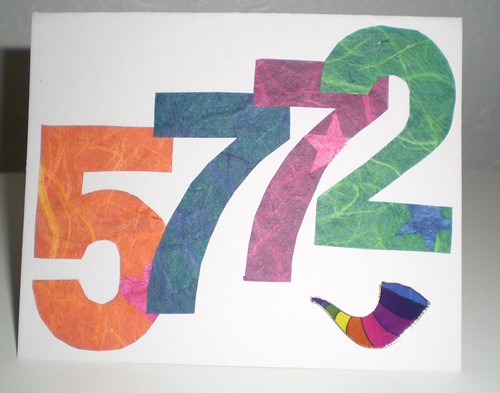
  • There are plenty of materials to use to embellish this type of card.  In the Rosh Hashana card example below I used stickers.  On my New Year's cards, I used markers.  Glitter is an option I try to avoid since most people don't like getting glitter all over when they open a card.  Confetti pieces relavent to the holiday can also be glued to cards.
  • Using different fonts for the letters can also make an appealing card.
Additional Photo

card_rhyear